This article covers how to allow SVGs to be utilized as imported (tagged) components in your React app, which can be used and styled in congruence with imported icon packages.
React Icons is a robust icon library that includes hundreds (if not thousands) of pre-formatted icons to use in your React projects. Your most basic needs will be covered. However, more "obscure" icons might not be available, and some don't automatically scale to the same size as other icons. For example, the PHP icons in the React Icon library are much smaller than their counterparts; an SVG is beneficial in this case because you can style its file to have the default size you need to match your imported icons. Also, if you work with specialized platforms (in my case a platform called PowerSchool), they most likely won't be found in the library.
There are many ways to import SVGs into your project; however, especially when mixing with libraries (like React Icon) where resources are imported as tagged components, it is much more consistent to also use your SVGs in the same way. This is not a hard task to accomplish, but it does require a couple of steps to get things working, so let's begin.
For this tutorial, we will be using SVGR. First, you need to install the package in your project's root directory:
npm install @svgr/webpack --save-dev
Once done, you need to edit your webpack.config.js file. This file is found in node_modules/react-scripts/config/webpack.config.js (the node_modules folder is in the root of your project).
When your webpack.config.js file is opened, you need to place the following line of code (you can omit the comment if you want, but I included it so I don't forget why I added it later if I need to reference it in the future:
  // Display SVGs inline
            {
              test: /\.svg$/,
              use: ['@svgr/webpack'],
            },
But where do you place the code? That was the trickiest part to figure out. I scrolled through the config file until I found the module section that included 'url-loader'. Here is the 'url-loader' module, followed by the code I added:
 // "url" loader works like "file" loader except that it embeds assets
            // smaller than specified limit in bytes as data URLs to avoid requests.
            // A missing `test` is equivalent to a match.
            {
              test: [/\.bmp$/, /\.gif$/, /\.jpe?g$/, /\.png$/],
              loader: require.resolve('url-loader'),
              options: {
                limit: imageInlineSizeLimit,
                name: 'static/media/[name].[hash:8].[ext]',
              },
            },
            // Display SVGs inline
            {
              test: /\.svg$/,
              use: ['@svgr/webpack'],
            },
For reference, in my webpack.config.js file, my comment went on line 399, and the intro bracket went on line 400 (followed by the rest of the code).
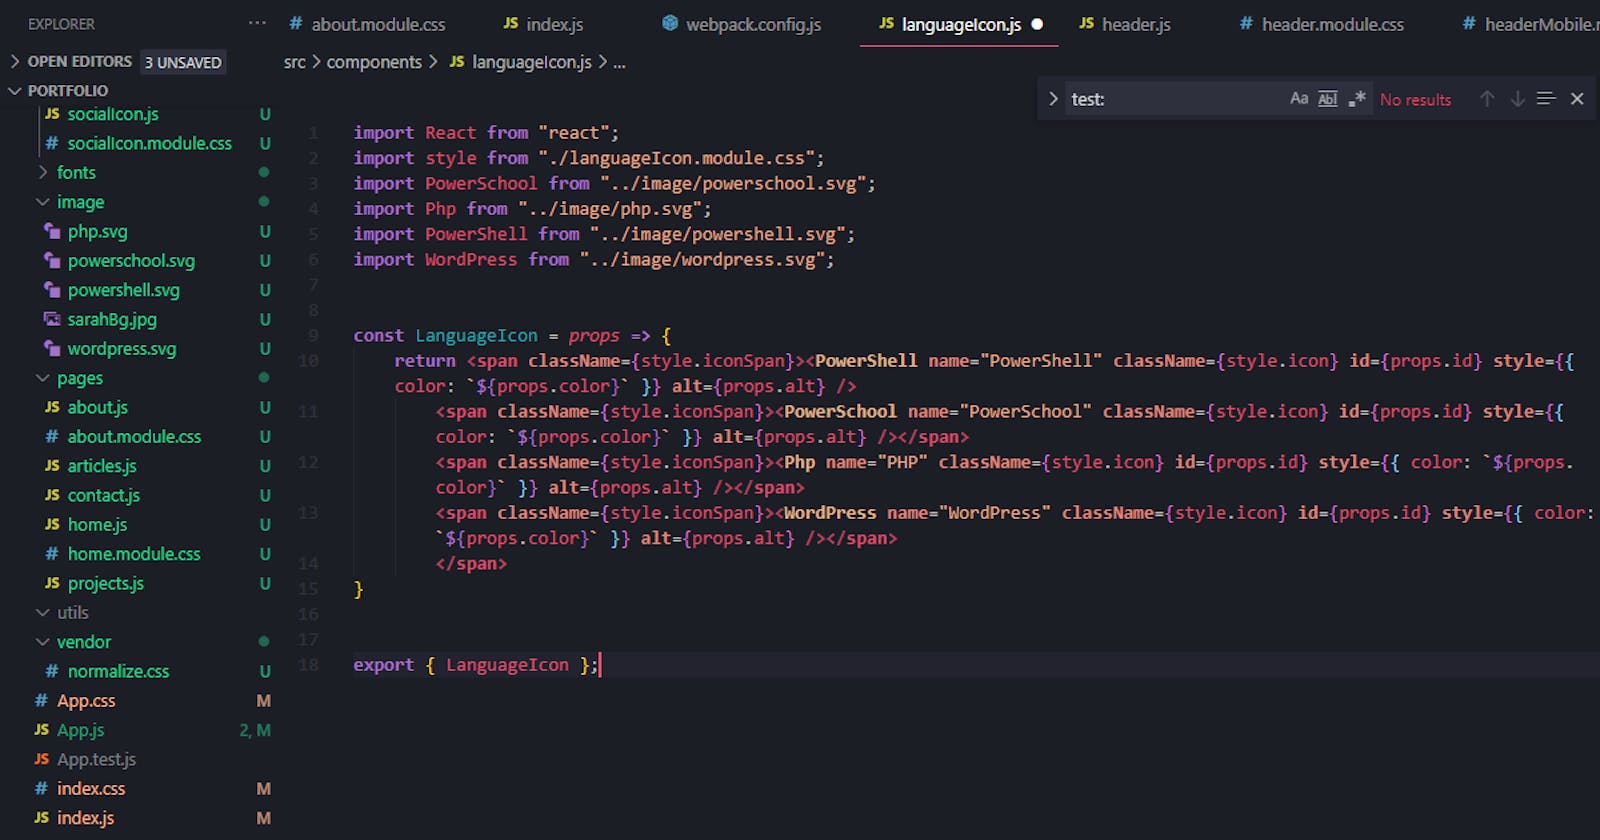
Once done, you can now import your SVG to your React app from it's file location:
import PowerSchool from "../image/powerschool.svg";
Then use it as a tag on your page within a function (or class):
import React from "react";
import PowerSchool from "../image/powerschool.svg";

export default function About() {
    return (
        <div><h3>Here is my SVG icon!</h3>
            <PowerSchool name="PowerSchool" />
        </div>
    )
}
...And voila! Where you may have previously received an error message (if you're like me), the SVG will now show up and you can use inline styles to style it as you need:

(If this still doesn't work, try re-starting your development environment to ensure the changes take effect.)
In conclusion, to get tagged SVG components, you need to install SVGR, add the 'test' and 'use' information to webpack.config.js, and then you can import your SVG images as tagged components, which can be used in parent components that also style library-imported icons.
If you liked this article, please check out the others I have on my blog, and connect with me on Twitter.
