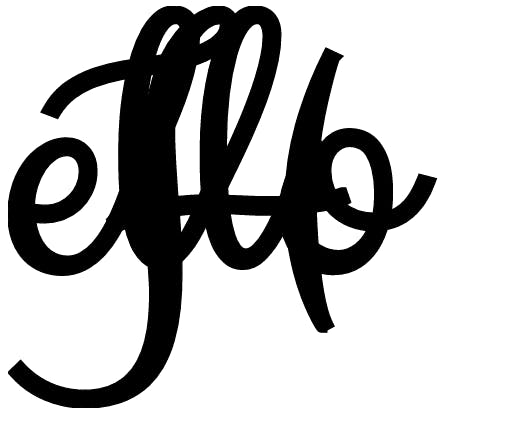
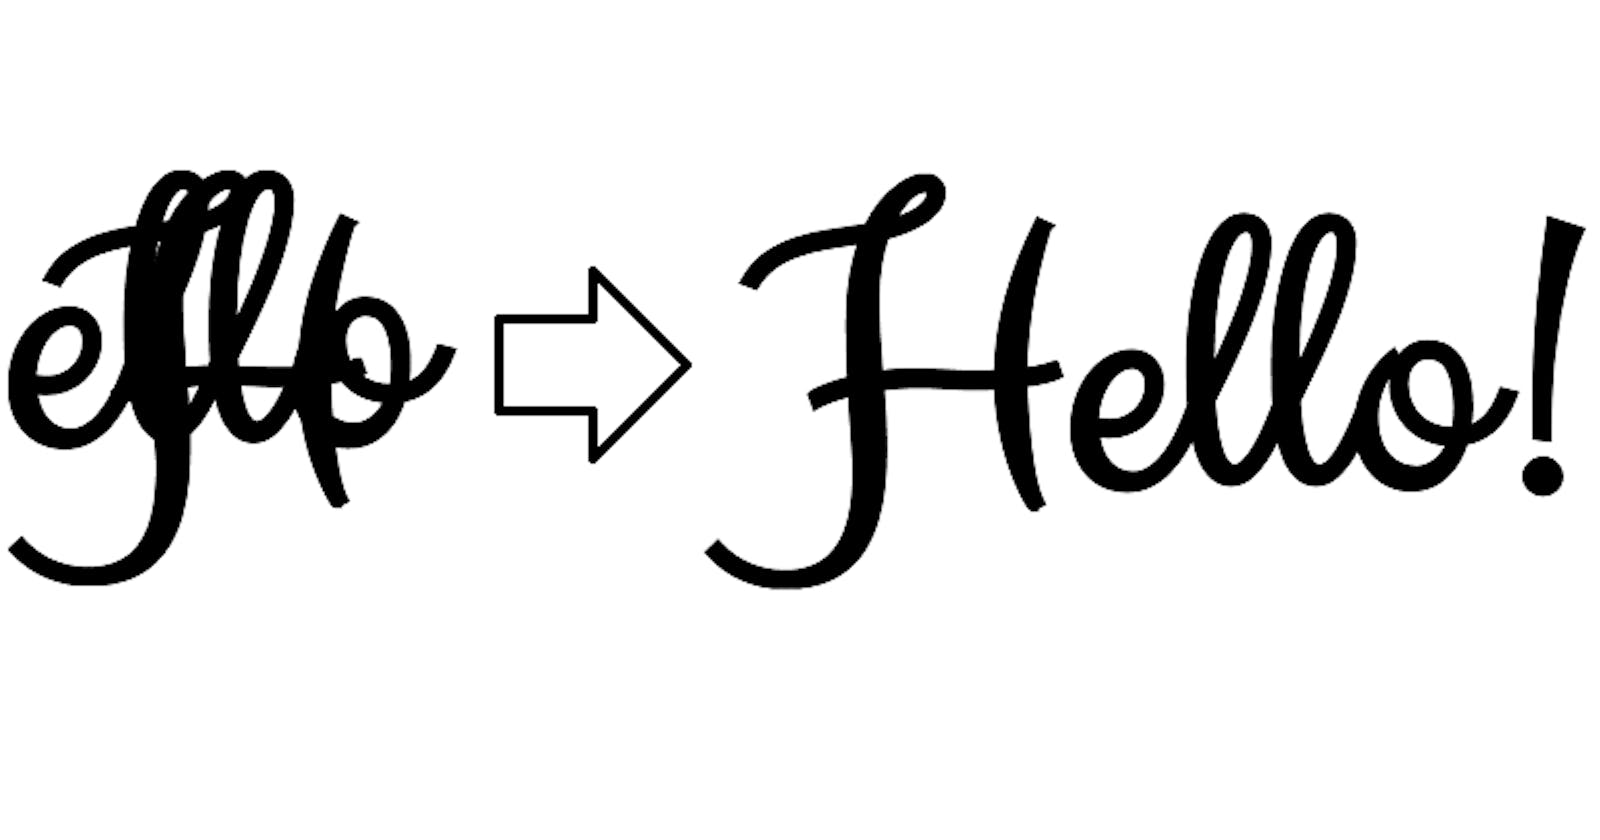
I've been playing around with SVGs to make more in-depth text effects. I am in the process of figuring out how to do some fun entry transitions with the word "Hello!" using a cursive font called Clicker Script, and the first step was to separate the letters in groups. For my effects, I needed to separate the word (and exclamation point) into three groups - the "H", the "ello", and the "!". I was able to use Adobe Illustrator to group the letters into the three paths I needed and export the code easily enough, but when I pasted the paths into the HTML code, they did not sit side by side, but instead stacked on top of each other!

That was NOT the look I was going after. If you, too, are having this issue, there is a very easy fix. At the end of each path, right before the closing tag, there is a "transform" attribute:

The first number after translate (in my case "-150.15") is the positioning on the x-axis, and the second number is the positioning on the y-axis. To move the letters over to the right, simply increase the first number (to move them to the left, decrease). You'll probably have to take a few guesses to get the positioning the way you like it. I settled on "95" for the x-axis.

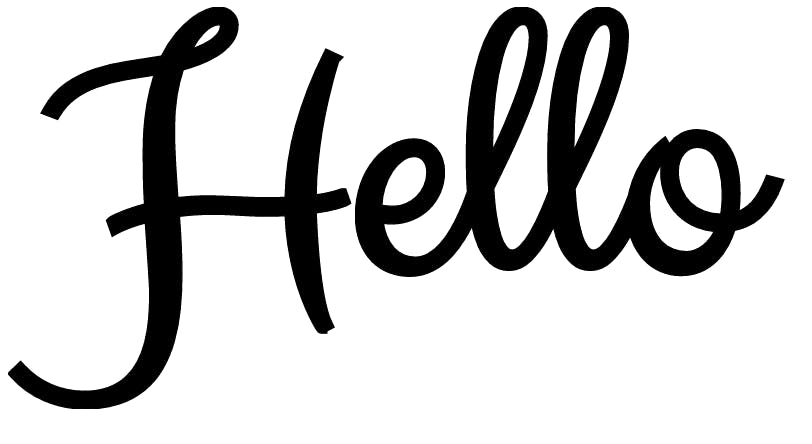
And here is the result:

Much better! I also decided to move the "ello" down a bit, so I changed the number from -42.27 to -12.27 (to move the SVG path down you increase the number, and to move it down you decrease it).

I then added in the "!" in and followed the same steps, adjusting the numbers on the x-axis and y-axis until they were to my liking. However, my SVG's view-box was not big enough to position the exclamation point as far right as I needed it to go, so half of it was getting cut off. To address this, I scrolled up to the very top of my tag and found the viewBox attribute. The viewBox is basically the canvas of your SVG - the SVG's paths must fall within the viewBox's parameters for the entire SVG to be seen.
The viewBox has 4 numbers in listed:
The first number pans the SVG horizontally within the view box - increase the number to move the object to the right; decrease it to move the object to the left.
The second number pans the SVG vertically - increase the number to move it down; decrease the number to move it up.
The third number defines the width of the viewBox. Increasing the number expands with width, decreasing the number makes the viewBox's width smaller.
And the fourth (and last) number defines the height of the viewBox. Increasing the number makes the viewBox taller, decreasing it makes it shorter.
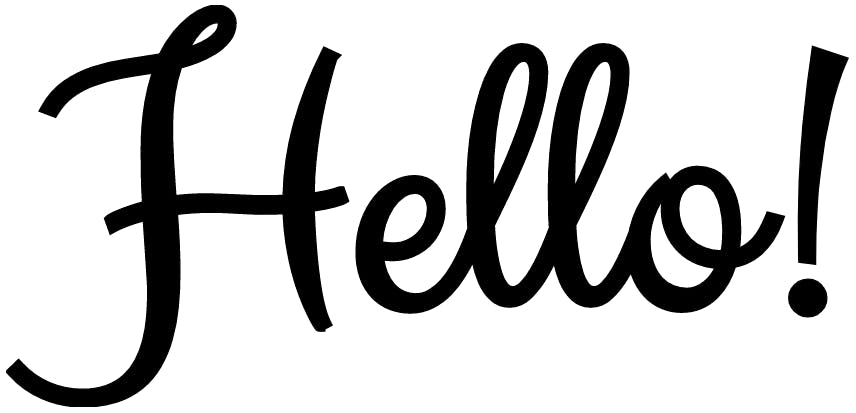
I increased the 3rd number in the viewBox attribute so that it was wide enough for all of my SVG paths.

And here is the final result - looking good!

